Guide
Resources
Quickstart
Authentication
Authentication in the Launch API is done using your organisation's API key which can be found in the developer settings of your organisation's dashboard.
Token
Simply add the Authorization header, set to Organisation {{ API_KEY }} to authenticate your request.
 curl \
 http://api.thelessonspace.com/v2/hello
{
"request": {
"method": "GET",
"url": "https://api.thelessonspace.com/v2/hello/",
"headers": [
{
"name": "Authorization",
"value": "Organisation YOUR_API_KEY"
}
]
},
"response": {
"status": 200,
"httpVersion": "HTTP/2",
"headers": [
{
"name": "content-type",
"value": "application/json"
}
],
"content": {
"text": "{\"response\":\"The sun is shining and so are you \uD83C\uDF1E\"}",
"mimeType": "application/json"
}
}
}
The Launch Endpoint
The Launch API is largely centered around the launch endpoint. This endpoint serves multiple purposes; being the first port of call when retrieving an existing space, creating a new space and even joining a space. It's main purpose is to abstract away the boilerplate of organisation management associated with creating and joining spaces.
As mentioned in the terms and concepts Lessonspace uses the room.sh API to provide the collaborative environment for its spaces. Start by calling the launch endpoint. It supports many optional parameters, but the only one that's required is id.
The id field uniquely identifies the space to join, and can be any identifier of your choosing (with a maximum length of 64 characters). If the specified id has never been used with the launch endpoint before (for a specific API key that is) then a new Space will be created. Alternatively, setting a previous used id will simply retrieve the existing space.
id can be some sort of relationship identifier of the people in the space, for example, student123_tutor456.A response with a status code of 201 means that a new space has been created.
A status code of 200 means that an existing space has been retrieved.
 curl \
 http://api.thelessonspace.com/v2/hello
{
"request": {
"method": "POST",
"url": "https://api.thelessonspace.com/v2/spaces/launch/",
"headers": [
{
"name": "Authorization",
"value": "Organisation YOUR_API_KEY"
}
],
"postData": {
"mimeType": "application/json",
"text" : "{\"id\": \"space 1\"}"
}
},
"response": {
"status": 200,
"httpVersion": "HTTP/2",
"headers": [
{
"name": "content-type",
"value": "application/json"
}
],
"content": {
"text": "{\"client_url\": \"https://go.room.sh/...\", \"api_base\": \"https://ew2-aa.room.sh/v1/room/uuid\", \"room_id\": \"uuid\", \"secret\": \"uuid\", \"session_id\": \"uuid\"}",
"mimeType": "application/json"
}
}
}
name field. If the name field is not specified then the id will be used as a placeholder. Alternatively, you can include a null or blank value in the name field, which will result in the Space having a null or blank name.Using the space
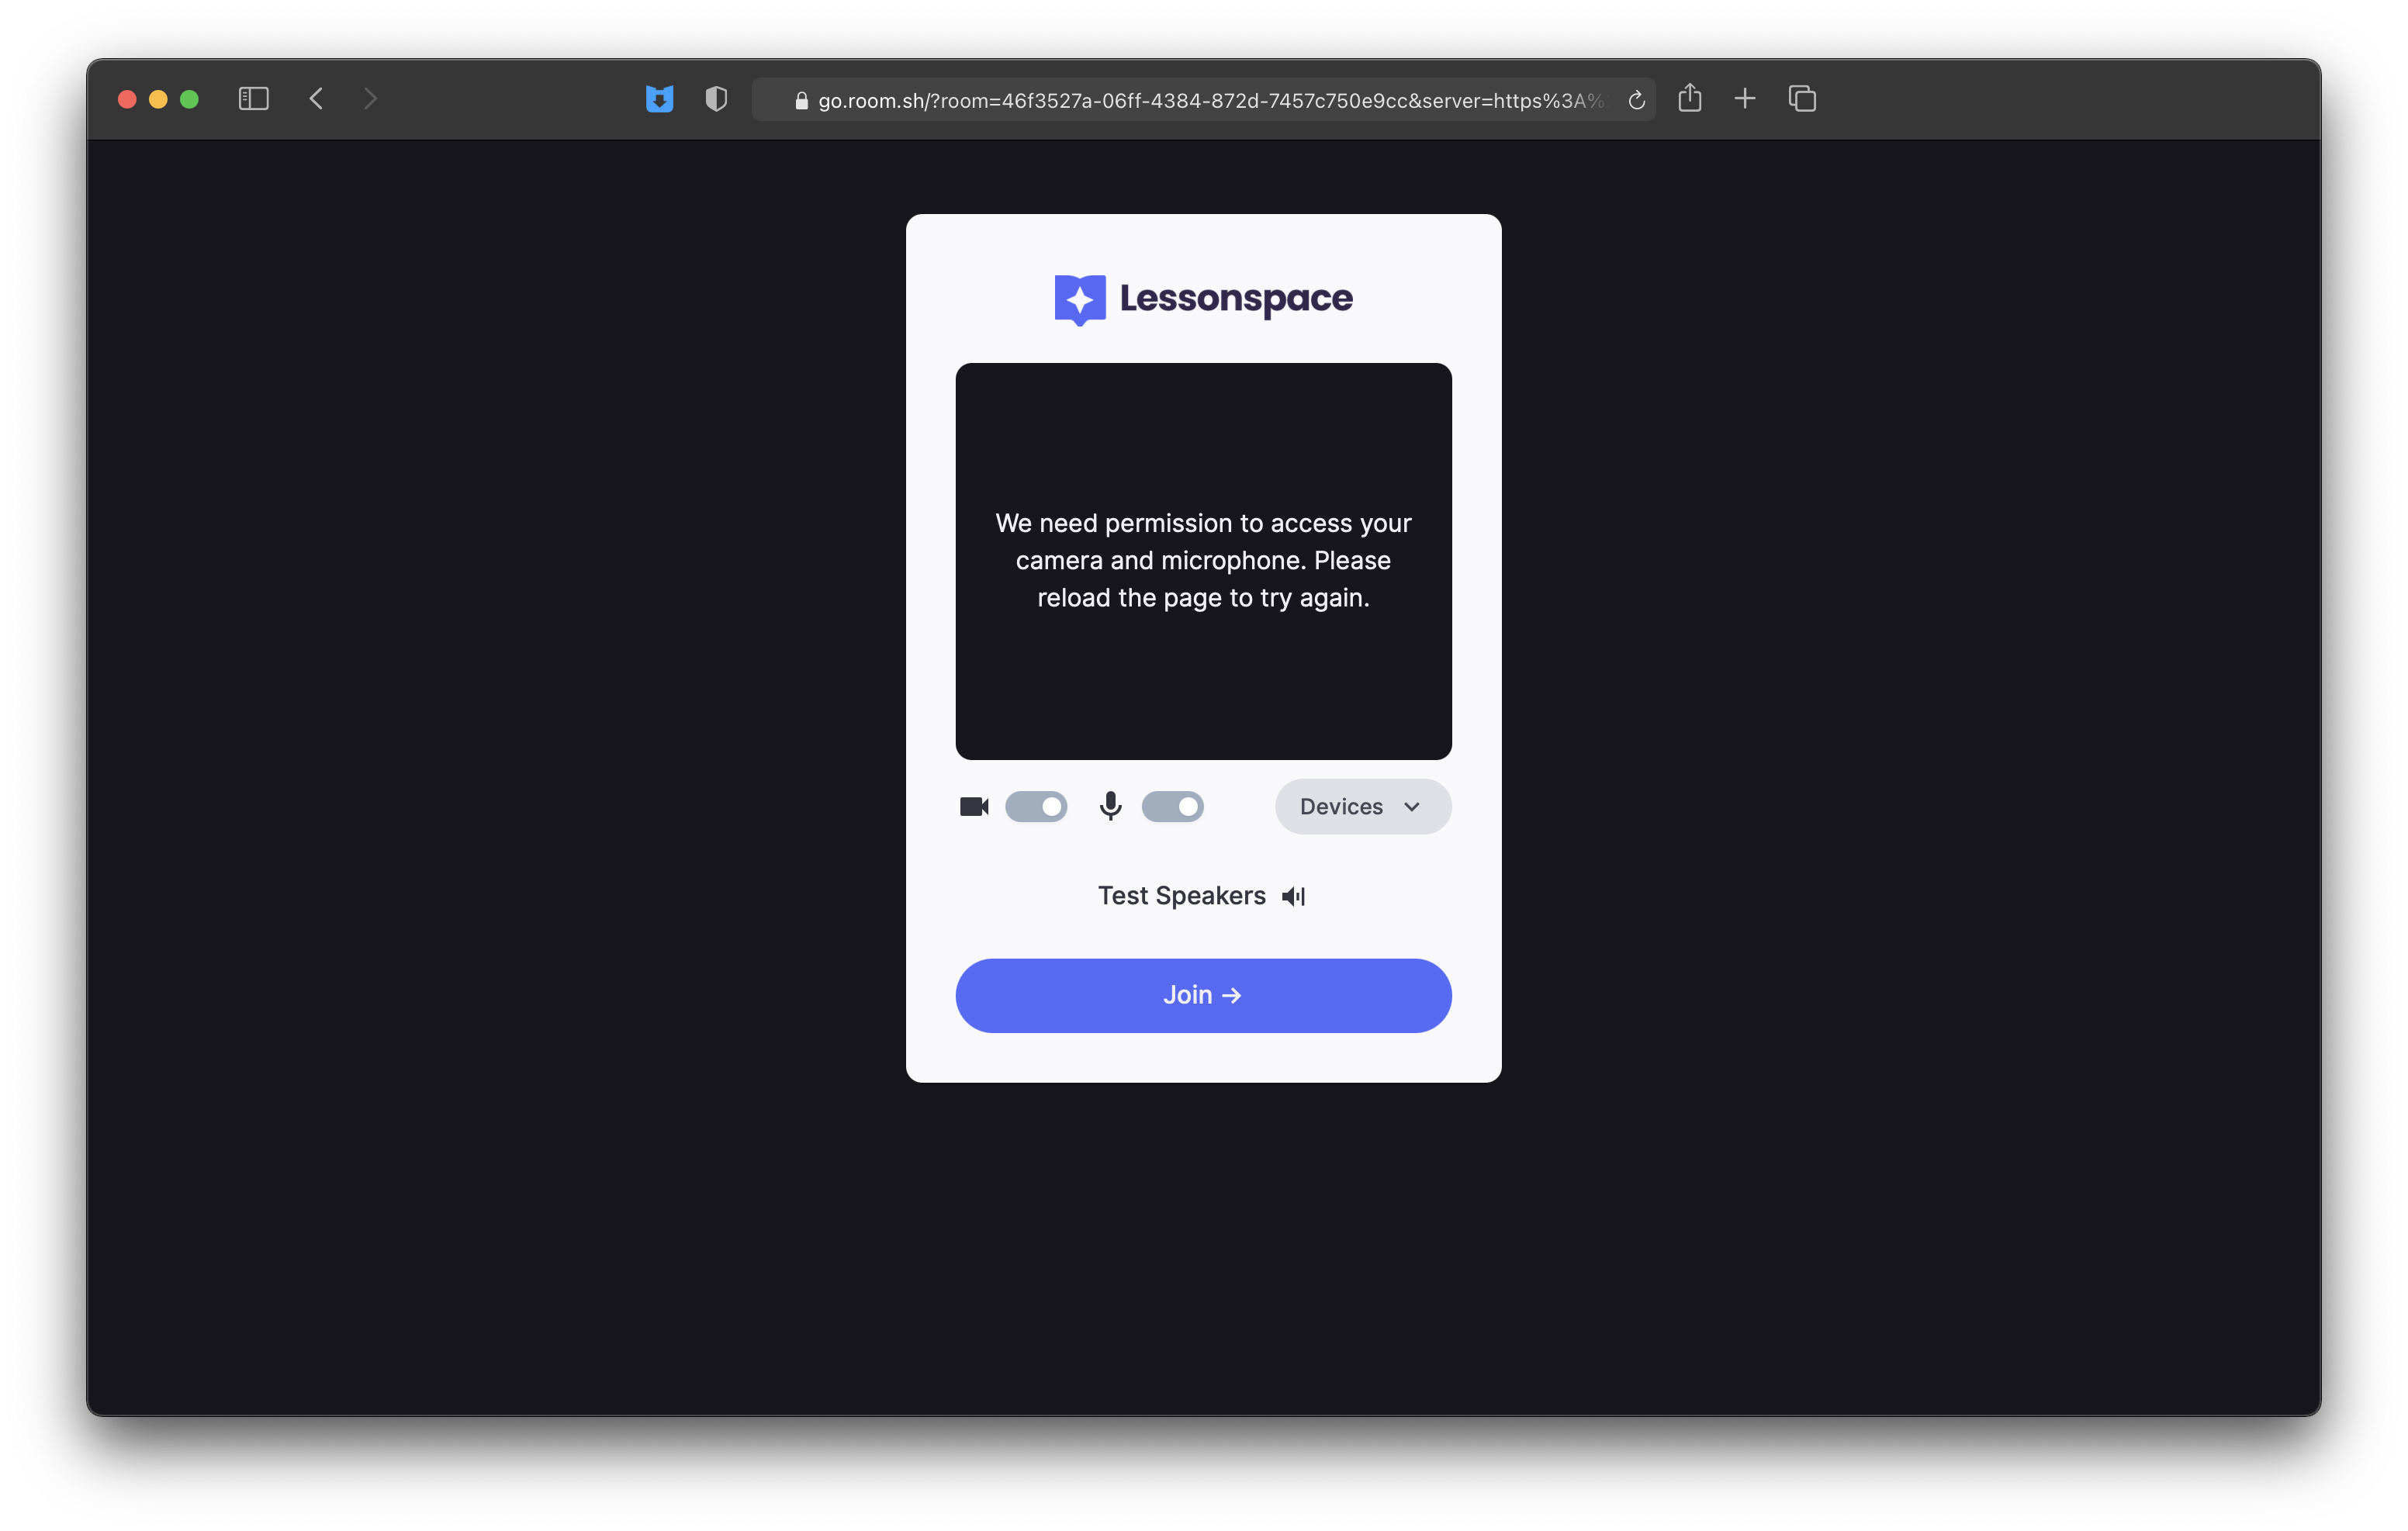
Five things were returned from our call to the launch endpoint; client_url, api_base, room_id, session_id and secret. The client_url field is the raw URL of the Space itself (you may notice that it's a room.sh link rather than a Lessonspace one). Try open it in your browser and you should be greeted by the lobby screen:
You can find more information on the other fields by checking out the endpoint specification in our API reference.
Identifying users
The call above only allowed you to join the space as a guest. This is because we didn't specify any user information in our API call. Let's create two Join Links for the same Space, one for Alice:
 curl \
 http://api.thelessonspace.com/v2/hello
{
"request": {
"method": "POST",
"url": "https://api.thelessonspace.com/v2/spaces/launch/",
"headers": [
{
"name": "Authorization",
"value": "Organisation YOUR_API_KEY"
}
],
"postData": {
"mimeType": "application/json",
"text" : "{\"id\": \"space 1\", \"user\": {\"name\": \"Alice\"}}"
}
},
"response": {
"status": 200,
"httpVersion": "HTTP/2",
"headers": [
{
"name": "content-type",
"value": "application/json"
}
],
"content": {
"text": "{\"client_url\": \"https://go.room.sh/...\", \"api_base\": \"https://ew2-aa.room.sh/v1/room/uuid\", \"room_id\": \"uuid\", \"secret\": \"uuid\", \"session_id\": \"uuid\"}",
"mimeType": "application/json"
}
}
}
and one for Bob:
 curl \
 http://api.thelessonspace.com/v2/hello
{
"request": {
"method": "POST",
"url": "https://api.thelessonspace.com/v2/spaces/launch/",
"headers": [
{
"name": "Authorization",
"value": "Organisation YOUR_API_KEY"
}
],
"postData": {
"mimeType": "application/json",
"text" : "{\"id\": \"space 1\", \"user\": {\"name\": \"Bob\"}}"
}
},
"response": {
"status": 200,
"httpVersion": "HTTP/2",
"headers": [
{
"name": "content-type",
"value": "application/json"
}
],
"content": {
"text": "{\"client_url\": \"https://go.room.sh/...\", \"api_base\": \"https://ew2-aa.room.sh/v1/room/uuid\", \"room_id\": \"uuid\", \"secret\": \"uuid\", \"session_id\": \"uuid\"}",
"mimeType": "application/json"
}
}
}
We'd normally send the first client_url to Alice, and the second to Bob; but if you don't have an Alice or a Bob nearby, you can open them both up in your browser in two separate tabs.
If you look carefully at the client_url field for both Alice and Bob, you'll see a user query parameter; the value of which is their signed JWT which is used to identify them. As such, it's very important that these client URLs are never shared between users.
id in the user object, to uniquely identify users with the same name, or for linking data for analytics. By default, the id field takes on the same value as name. This id can be any identifier of your choosing, and is handled opaquely. Also, make sure to add the email field to the payload so as to allow the Lessonspace API to correctly identify each user and their corresponding Lessonspace account. If you specify an email that doesn't exist in your organisation the user will be automatically added to your organisation as a student.Embedding a space
The space supports being embedded in an iframe - you'll want to ensure you set the allow attribute so that all features of the space work correctly. You can copy and paste the snippet below and replace the src of the iframe tag with the client_url you generated from the above launch endpoint.
<iframe src="CLIENT_URL_GOES_HERE"
        allow="camera; microphone; display-capture; autoplay; fullscreen"
        frameborder="0">
</iframe>